This article came about from the following question…
Why are the user details blank when running my PowerApp, but they are populated when editing it?
This happened to me in 2 scenarios,
- Using the current users details to get their supervisor, but the supervisors’ details were not showing.
- Using the App as a proxy to instantly call a Power Automate Flow, but no user details were getting passed to the flow.
But in both these scenarios, the data was populated when editing the app.
What went wrong
The answer was simple (when I worked it out), the data simply wasn’t loading fast enough.
When the screen was becoming visible, or the app had called the flow, the details for the user/users’ supervisor had not yet been loaded.
The workaround
Add a Timer to the screen to check for the required value, and only when found, do whatever work needs to be done.
Here is how I implemented it
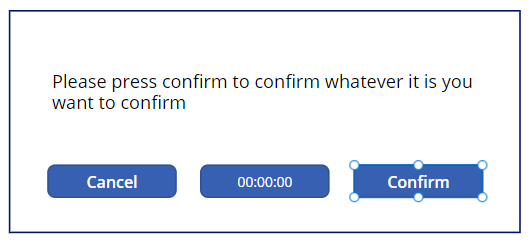
In this example I am waiting for the users details to have an email address before allowing the user to press the confirm button.
My screen is very basic, a message, 2 buttons and a timer
In the App OnStart put the code
// get current user – requires a data connection to Office 365 Users
Set(varCurrentUser, Office365Users.MyProfileV2());
// set a global timeout value – don’t want thing going on forever
Set(varTimeout, 50); // each timer is 100 milliseconds so this is 5 seconds
In the screen OnVisible
UpdateContext({
    ctxTimerIteration: 1, // incremented each time the timer runs
    ctxDataCheckOn: true // our flag that it is using the time to check for data
});
Make the Confirm button DisplayMode
If(ctxDataCheckOn, DisplayMode.Disabled, DisplayMode.Edit)For the timer…
- Set the Time Duration to 100
- Set the Time Repeat to ctxDataCheckOn. So this will repeat until the data is found or it times out.
- Set Visible to false
In the OnTimerEnd add something like
If(ctxTimerIteration > varTimeout
    , // the form timed out before getting the user information
        UpdateContext({
            ctxDataCheckOn: false, // stop the timer
            ctxShowError: true // make sure to show an error
        });
    , // check the user information
        If(!IsBlankOrError(varCurrentUser.mail)
            , // user information set - stop the timer
                UpdateContext({ctxDataCheckOn: false}); // stop the timer and enable the confirm button
                // do what needs to be done here

            ,   // else just increment the timer
                UpdateContext({ctxTimerIteration: ctxTimerIteration + 1});
        );
);
Testing
Because it can be difficult to properly test when you can’t replicate the issue in development mode, here are some tips.
Make the Timer visible and increase the duration to something like 3000 (3 seconds), that way you can see the timer working.
If you run it as it is the Confirm button will be disabled for 3 seconds.
Now if you change the OnStart to Set(varCurrentUser, Blank()); this will show it time out.
Variables
I have used a mix of global variables and context variables. I think it is important to use them in the correct scope.
Use global variables for things like the timeout, where it would be the same for different parts of the app.
Use context variables for things that are specific to your screen, you might want to put a timer on a different screen and if you use context variables, you can just copy them and both will work nicely together (well, nicely separately).